So you just bought a streaming account and are trying to setup your auto-dj to run playlists automatically for you all day.
Read the following tutorial to get started:
1
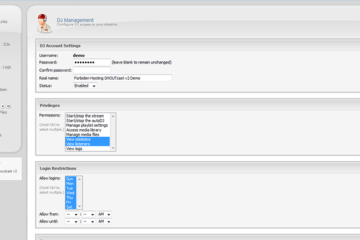
In order to use AutoDJ, open up a new window in your browser, and go to your AutoDJ Web Interface, (centovacast login screen) enter the username and password from your Account Dashboard to login.
2
After you have logged in you will have to upload your files, to do so you must click on “Files” from the left side column of the AutoDJ interface.
*Please note the the Auto DJ is designed to work only with .mp3 files.
3
Once you are in the “Files” sections you will have to click on the “media” folder and then click on “Upload” from the bottom of the page.
4
Once the “File Manager” has been opened, you will be able to upload your music files to your AutoDJ.
Click on “Select files” and navigate to your songs folder,
5
select the files that you want to upload and click “Open”
6
Once your uploading process has finalized you have to click on “Close” and go to the “files” section.
7
After the Media Library has updated you shall be able to see the content that you have uploaded, and you will be able to put your content into your playlists.
To do so you will have to click the “Artist”, then the “Album” and then you will be able to see the files in the windows below.
or you can select to view files by folders also.
You can select multiple files to put in your playlist by clicking one file, pressing “Shift” on your keyboard, and click one the last file in your selection.
8
Once you have selected your files, you simply drag and drop them into your playlist.
*Please note that if you leave any empty playlists active, the AutoDJ will not function properly.
To disable a playlist from the Media Library, simply right click on it, and click on “Disable”.